Every knitter's first scarf is a small promise kept. Thirty stitches, a few hundred rows, and a piece of fabric that didn't exist on Friday night. Garter stitch is the right place to start: it's knit on every row, it lies flat without curling, and its bumpy texture forgives the uneven tension every beginner has. Give it a weekend and you'll have something you can actually wear.
What to Gather Before You Cast On
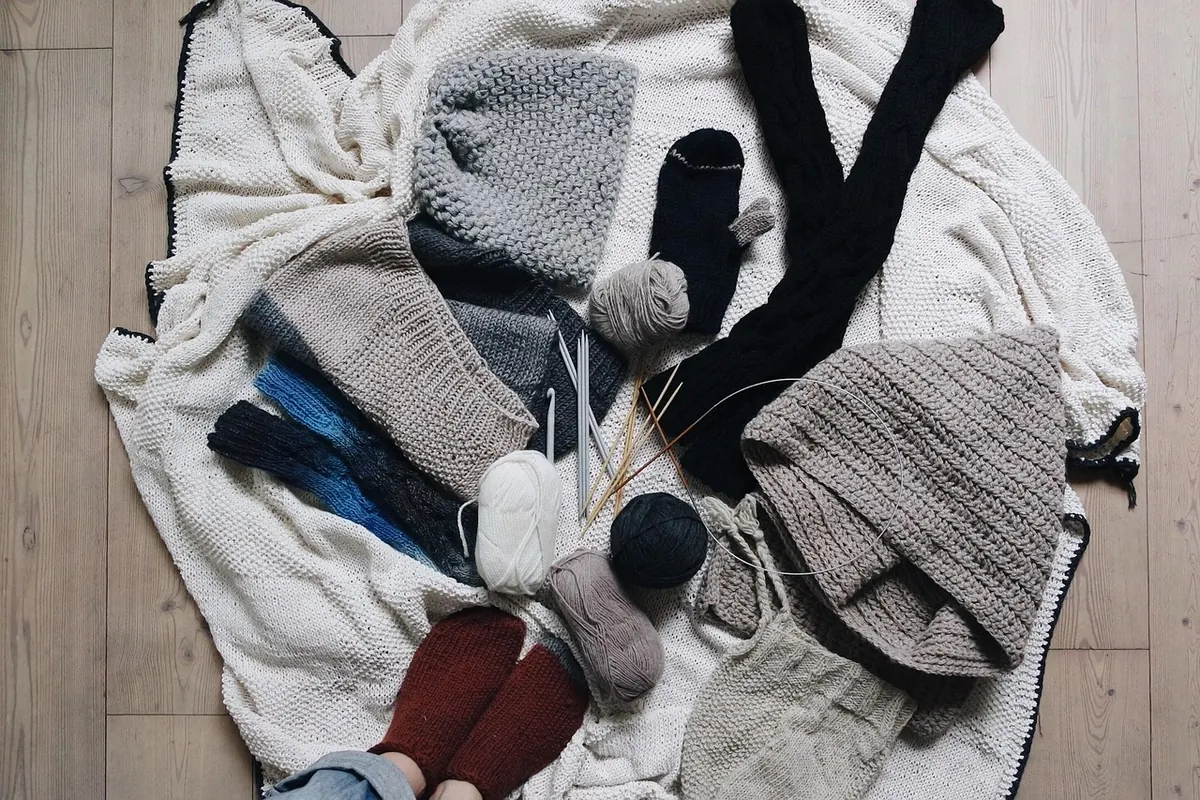
Choosing the right materials matters more than most beginners expect. Fuzzy, dark, or novelty yarns hide your stitches, and if you can't see them, you can't fix them.
- Worsted-weight yarn in a light or medium color — roughly 400 yards for an adult scarf. Smooth, plied wool or a wool blend is the friendliest choice.
- Straight needles, US size 8 (5 mm). Bamboo or wood if you tend to knit tightly; the yarn grips them and slides less.
- A tapestry needle with a blunt tip, for weaving in the ends.
- Scissors and a tape measure or ruler.
- Optional: a crochet hook, size H or I, if you want fringe.
Skip the slippery metal needles for now. They're wonderful later, but on a first project they let stitches escape.
Casting On: Getting Thirty Loops on the Needle
The long-tail cast on gives a neat, slightly stretchy edge, and it's the one most knitters learn first. Measure out a tail roughly one inch per stitch — about thirty inches for thirty stitches — plus a few inches of safety margin. Run short and you'll be redoing it, so err long.
- Make a slip knot. Form a loop, pull a second loop through it, and slide it onto the needle. Tighten gently so it can still slide along the shaft.
- Set up your hands. Hold the needle in your right hand. Loop the tail over your left thumb and the working yarn over your left index finger, spreading them so a V of yarn sits between the two.
- Make the first stitch. Slide the needle up through the loop on your thumb, catch the strand on your index finger, and pull it back through the thumb loop.
- Release and snug. Slip your thumb out and tug the tail just enough to seat the new stitch against the needle.
- Repeat twenty-nine more times. Aim for even loops that sit close together without strangling the needle.
Count your stitches at the end. If you land on twenty-nine or thirty-one, don't unravel anything — for a scarf, the width simply shifts by a quarter inch.
The most common cast-on problem
Beginners almost always cast on too tightly, which puckers the bottom edge of the scarf and makes the first row miserable to knit. If your loops barely move on the needle, pull them all off, rewind the yarn, and cast on again using needles two sizes larger. Then switch back to your size 8s for the body of the scarf.
Knit Every Row, and Nothing Else
Garter stitch is what you get when you knit every single row. No purling, no pattern to memorize, no wrong side. Both faces look the same, the fabric lies flat, and it has a pleasing horizontal ridge that hides a multitude of sins.
Here is the knit stitch in one sentence: insert the right needle into the front of the first stitch on the left needle, going left to right; keep the working yarn behind the work; wrap it around the right needle; pull the new loop through the old one; slide the old stitch off the left needle. That's one stitch. Do it again across the row, then turn the work and do it all over again.
Two things will probably go wrong in your first twenty rows. Your tension will wobble, with some stitches fat and some thin — that's normal, and blocking evens it out more than you'd believe. And your stitch count may drift, usually because the yarn got laid over the needle instead of behind it, quietly creating an extra stitch. Count every ten rows or so. If you're up a stitch, knit two together somewhere in the middle and carry on.
Small habits that make it easier
Keep both needles in your hands as you work. Setting them down mid-row and picking them up again is where loose, sloppy stitches come from. Push the finished stitches down the shaft every few inches rather than letting them crowd the tip. And when you set the scarf aside, stop at the end of a row so you know exactly where you are when you come back.
Knowing When to Stop
Measure, don't count rows. Lay the scarf flat on a table without stretching it and check the length every so often. An adult scarf is usually long enough when it wraps comfortably around your neck with both ends hanging to about hip level, which lands somewhere around fifty-five to sixty-five inches. For a child, aim for forty-five inches. If it's a gift and you can't measure the person, sixty inches is a safe target.
While you're measuring, note the width. Thirty stitches of worsted weight on size 8 needles usually comes out near six inches. Wider or narrower is fine — it's just useful information for your next project, when you'll know exactly what you want.
Binding Off Without a Too-Tight Edge
This is where first scarves often go wrong, so read the whole sequence before you start.
- Knit the first two stitches.
- Insert the left needle into the older of the two stitches on the right needle, lift it over the newer stitch, and let it drop off the needle.
- Knit one more stitch. Repeat the lift-and-drop.
- Continue across the row until one stitch remains. Cut the yarn with a six-inch tail, pull it through that last loop, and snug it down.
Work loosely, and give the finished edge a gentle tug every couple of inches. If the bound-off edge looks narrow and stiff compared to the rest of the scarf, unravel it and redo it with needles a size or two larger. A tight bind off is the single most common reason a first scarf has one end that won't stretch.
Fringe, Ends, and Finishing
Weave in the two loose tails with the tapestry needle, running it through the back of several stitches in one direction, then back through a few in the other. Three inches of travel is plenty; trim what's left.
For fringe, cut strands about ten inches long and fold each in half. Use the crochet hook to pull the folded loop through the edge of the scarf, then pull the loose ends through that loop and tighten. Space the fringes two stitches apart across both ends, or in small groups if you prefer a chunkier look.
Finally, block the scarf. Wool and other animal fibers relax beautifully in cool water: soak it for twenty minutes with a little wool wash, press it in a towel to remove the excess water, then lay it flat and straighten the edges. Acrylic needs a lighter touch — mist it and let it dry flat, or hold a steam iron a few inches above the fabric. Never press a hot iron directly onto acrylic, because it can melt.
Your Weekend Plan
Friday evening: pick up your yarn, cast on thirty stitches, and knit five rows so the pattern is in your hands. Saturday: knit in relaxed stretches of twenty or thirty rows, counting occasionally and measuring once or twice. Sunday: bind off, add fringe, weave in ends, and block. If it spills into Monday, nobody is keeping score.
Then keep the scarf, even with its wobbly rows. It's your reference sample — the thing you'll hold up in three months to see how far your tension has come. The mistakes you'll notice are the ones nobody else ever will.
Photo: Pexels / Pixabay