Somewhere near the bottom of a thrift bin is a wool sweater that has already done its job. It shrank in a hot wash, or the elbows wore thin, or it never quite fit anyone in the first place. Here is the useful thing about a felted wool sweater: it stops behaving like knitting and starts behaving like fabric. It holds a shape, it insulates beautifully, and it will not unravel when you cut into it. That makes it one of the easiest materials to turn into a hat. You need an afternoon, a needle, some thread, and a piece of lining fabric. What you get is a beanie that is warmer than most store-bought knits, smooth against your forehead, and sized to your own head.
Start With the Right Sweater
Look for a sweater that is at least 70 percent wool, lambswool, or alpaca. Check the label before you fall in love with a color. Acrylic will not felt, and cotton interlock will sag into a shapeless tube. Superwash wool has been treated specifically to resist felting, so leave those on the rack too. Cables, Fair Isle bands, and ribbed hems are all welcome, because the texture carries over into the finished hat and hides small imperfections in your stitching.
Give the fabric a quick test in the shop. Hold it up to a window. If you can see daylight through thin spots, that area will make a drafty hat. Small moth holes are fine as long as they sit where a seam or a fold will cover them; a large hole across the middle of the crown is not. Many adult sweaters yield enough felted fabric for two hats, which means you can afford to make a mistake on the first.
What You'll Need
- One felted wool sweater
- About half a yard of lining: cotton jersey, cotton interlock, lightweight fleece, or silk. Avoid slippery polyester satin, which makes the hat slide around on your head.
- All-purpose polyester thread, matched or deliberately contrasting
- Hand-sewing needles in sizes 7 to 9, plus a tapestry needle if the felted wool is thick
- Straight pins or sewing clips
- Fabric scissors or a rotary cutter and mat
- Measuring tape, tailor's chalk, paper and pencil for a pattern
- An iron and a pressing cloth
Felt the Sweater First
If the sweater has not already felted, do it deliberately before you cut. Put it inside a zippered pillowcase or a mesh laundry bag to keep loose fibers out of your machine, then wash it on a hot cycle with a small amount of detergent and a couple of heavy items such as jeans or towels to create agitation.
Check the sweater after ten minutes. Wool felts gradually, and the process cannot be reversed, so check every five minutes after that. You are looking for fabric so dense that the individual knit stitches have blurred together and you can no longer clearly see the strand of yarn. When it reaches that point, run a cold rinse and spin, then lay it flat to dry, patting it into a square shape while damp.
Front-loading machines felt more slowly than top-loaders with a central agitator, so expect the timing to vary. If the fabric still feels loose and stretchy after drying, give it another hot cycle. You want something with the density of thick felt but just enough give that it can be pulled over a head without ripping.
Cut the Pattern Pieces
Take two measurements. First, the head circumference just above the ears. Second, the depth from the crown of the head down to the bottom of the earlobe, usually somewhere between 19 and 23 cm. That second number is your finished hat height before any folded brim.
Draw a dome on paper. The easiest version: a rectangle whose width is half the head circumference plus 2 cm of seam allowance, and whose height is the hat depth plus 2 cm. Then round off the two top corners into a smooth curve and gently curve the bottom edge upward so it follows the hairline. Cut the paper template out, fold it in half vertically, and trim the curve until both sides match. One template is all you need because you will cut two of each piece.
Smooth the felted sweater flat on a table. Pin the template down and cut two pieces from the body for the wool shell, then cut two identical pieces from your lining fabric. If the sweater has a ribbed hem, cut that band off first and set it aside; it makes a good optional cuff. Cut through both layers of the sweater at once wherever the fabric allows, so the two shell pieces are mirror images of each other.
Sew It Together
- Pin the two wool pieces with right sides together. Match the curved crown edges carefully, since any wobble shows up as a dent in the finished hat.
- Backstitch along the curve by hand with small, even stitches, roughly 3 mm long. Use backstitch rather than a running stitch here: this seam takes the strain every time the hat is pulled on.
- Keep your tension relaxed. If you pull the thread tight, the seam puckers and the hat will sit oddly.
- Clip the seam allowance around the curve every 1 to 2 cm, cutting close to but not through your stitching, so the seam lies flat. Press it open with an iron and a pressing cloth.
- Turn the wool shell right side out and set it aside.
- Repeat steps one through four with the lining, but leave a 10 cm gap in one side seam for turning.
- Turn the lining wrong side out and slide it over the wool shell, right sides facing, matching the bottom raw edges. Pin all the way around.
- Sew around the bottom edge with backstitch, using a 1.5 cm seam allowance.
- Reach through the gap in the lining and pull the whole hat right side out. Push the lining down inside the wool shell and smooth it into place.
- Slip stitch the gap closed with tiny invisible stitches. Topstitch around the brim if you like the crisper look.
Finishing Touches and Variations
For a folded brim, simply cut the shell 8 cm taller than your measurement and turn the bottom edge up. A pom-pom made from leftover sweater yarn is a good way to use up the scraps and add a little weight at the crown. Earflaps are just two small rounded rectangles sewn into the side seams, finished with braided ties.
Lining is where you can have some fun. A bright jersey inside a grey wool looks sharp when you fold the brim, and a soft fleece lining adds meaningful wind resistance if you walk in cold weather. If you are making the hat as a gift, choose a slightly stretchy lining so it fits a range of heads.
Caring for a Lined Wool Beanie
Hand wash in cool water with a wool-safe detergent, squeeze rather than wring, reshape while damp, and dry flat on a towel away from radiators. Because the lining sits against your skin instead of the wool, the hat stays fresh longer and needs washing less often. Store it folded in a drawer with cedar or lavender rather than hanging it on a hook, and if moths ever find it, a few days in the freezer will deal with the eggs. Make a second one from the leftover fabric while your needle is still threaded.
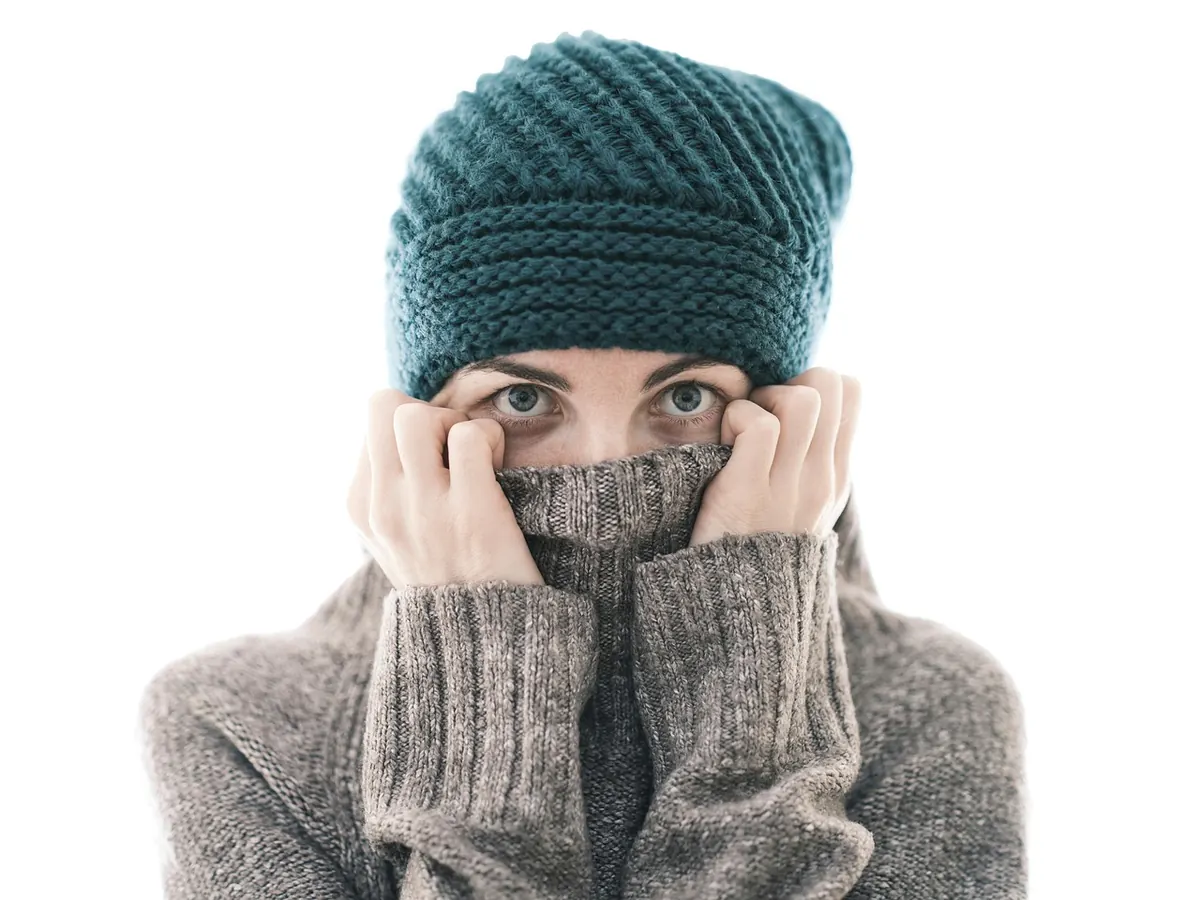
Photo: Engin_Akyurt / Pixabay